How to Sew Pointe Shoe Ribbons and Elastic: A Step-by-Step Guide
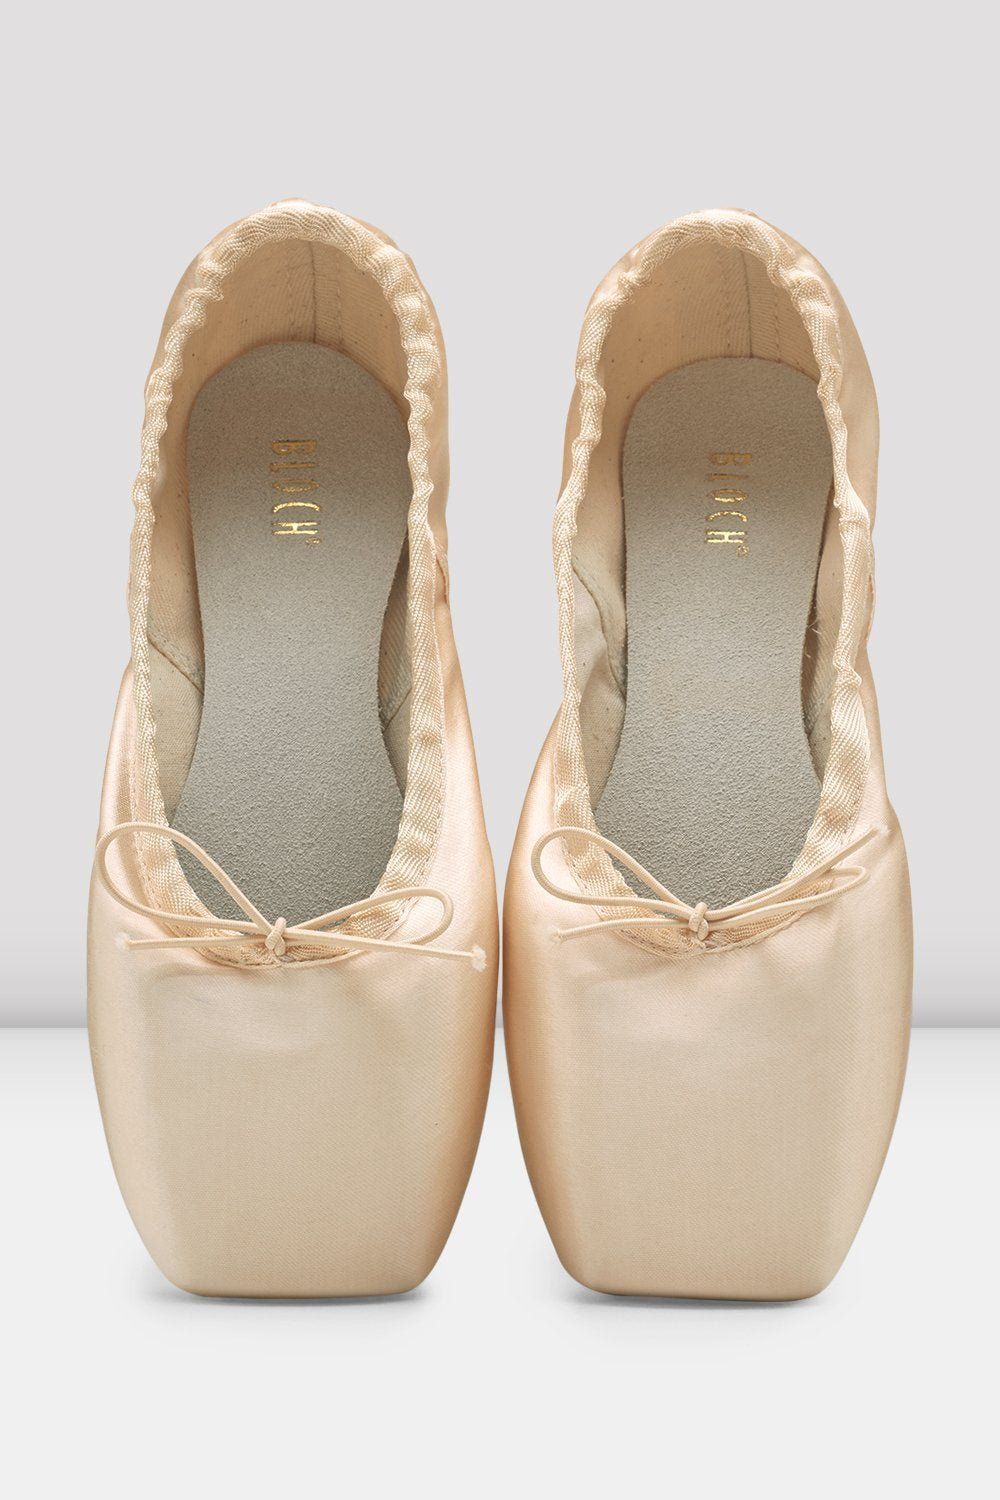
Sewing your pointe shoes is a rite of passage — and one of those skills that seems intimidating the first time but becomes second nature quickly. Getting it right matters: ribbons and elastic that are sewn in the wrong position can affect your ankle support, your line, and even your safety. This guide (and the video below) walks you through exactly where to place and how to sew both ribbons and elastic.
What You'll Need
- Your pointe shoes
- Satin or Elasticized ribbon — cut into 4 equal lengths of approximately 22–24"
- Elastic — either single wide elastic or two pieces per shoe if you will be criss-crossing them
- A needle and strong thread (matching the color of your shoe lining)
- Scissors and a lighter or clear nail polish to seal ribbon ends
Nikolay Sewing Kit for only $8 has everything you need.
Watch: How to Sew Pointe Shoes
This video tutorial is for dancers, dance moms and dance dads who need to learn the absolute basics for sewing pointe shoes!
- 0:05 - Threading the Needle
- 1:11 - Sew the Elastics on the Heel
- 4:23 - Knot off the Thread for the Elastics
- 6:29 - Burning the Edges of the Elastics to Prevent Fraying
- 7:05 - Measure the 2nd Side & Sew the Elastic to the Heel
- 8:18 - Finished and Sewn Elastics
- 8:37 - Cutting the Ribbons
- 9:38 - Burning the Edges of the Ribbons
- 10:38 - Finding the Natural Break of the Shoe & Where to Sew Ribbons
- 11:13 - Sew the Ribbons
- 14:11 - Knot the Ends of the Sewing on Ribbons
- 15:39 - Finished & Sewn Pair of Pointe Shoes
Step 1: Place the Elastic
Elastic placement varies by preference and teacher instruction, but the most common method is a single piece of elastic sewn across the back of the heel. The elastic should sit snugly across the Achilles tendon without digging in.
Some dancers prefer two crossed pieces of elastic — one from each side of the heel, crossing over the Achilles. This provides more security and is common for dancers with narrow heels.
Step 2: Sew the Elastic
Burn the raw end and sew under the binding with a straight stitch on one side of the back seam. Put the shoe on the dancer's foot and wrap the elastic around the ankle. It should have tension, but not too much. Mark the area on the elastic where it meets the underneath of the binding, and sew on the other side of the middle back seam of the shoe. Test the tension before finishing — the elastic should hold the shoe firmly on the heel without pulling the back of the shoe away from the Achilles.
Step 3: Find the Ribbon Placement
Fold the heel of the shoe forward toward the insole, this is the natural break of the shoe. Where the little wings/pockets form is your ribbon placement point — typically behind the side seam of the shoe on each side. Mark this spot lightly with a pin or marker on the inside of the shoe on both sides of both shoes.
Step 4: Sew the Ribbons
Burn and then fold the raw end of the ribbon under by about 1/2" to prevent fraying. Place or pin it to the marked spot at a slight angle. Using a strong thread, sew a small, tight straight stitch through the ribbon under the binding. Knot securely and repeat for all four ribbon ends.
Seal the cut ends of the ribbon with a lighter (pass quickly through the yellow part of the flame — don't hold it) or clear nail polish to prevent fraying.
Tips for a Clean Finish
- Use thread that matches your shoe lining (usually white or pink), not the outer satin.
- Ask your teacher if your studio has a specific ribbon or elastic placement requirement before you sew.
- Sew all four shoes at the same time so placement is consistent across both pairs.
Shop Pointe Shoes & Accessories
Ready for a new pair? Browse our full pointe shoe collection, including the Nikolay StreamPointe and the CL-60 Crescenda R-Class Pointe Shoe.